Microblading
Golden Ratio Eyebrows
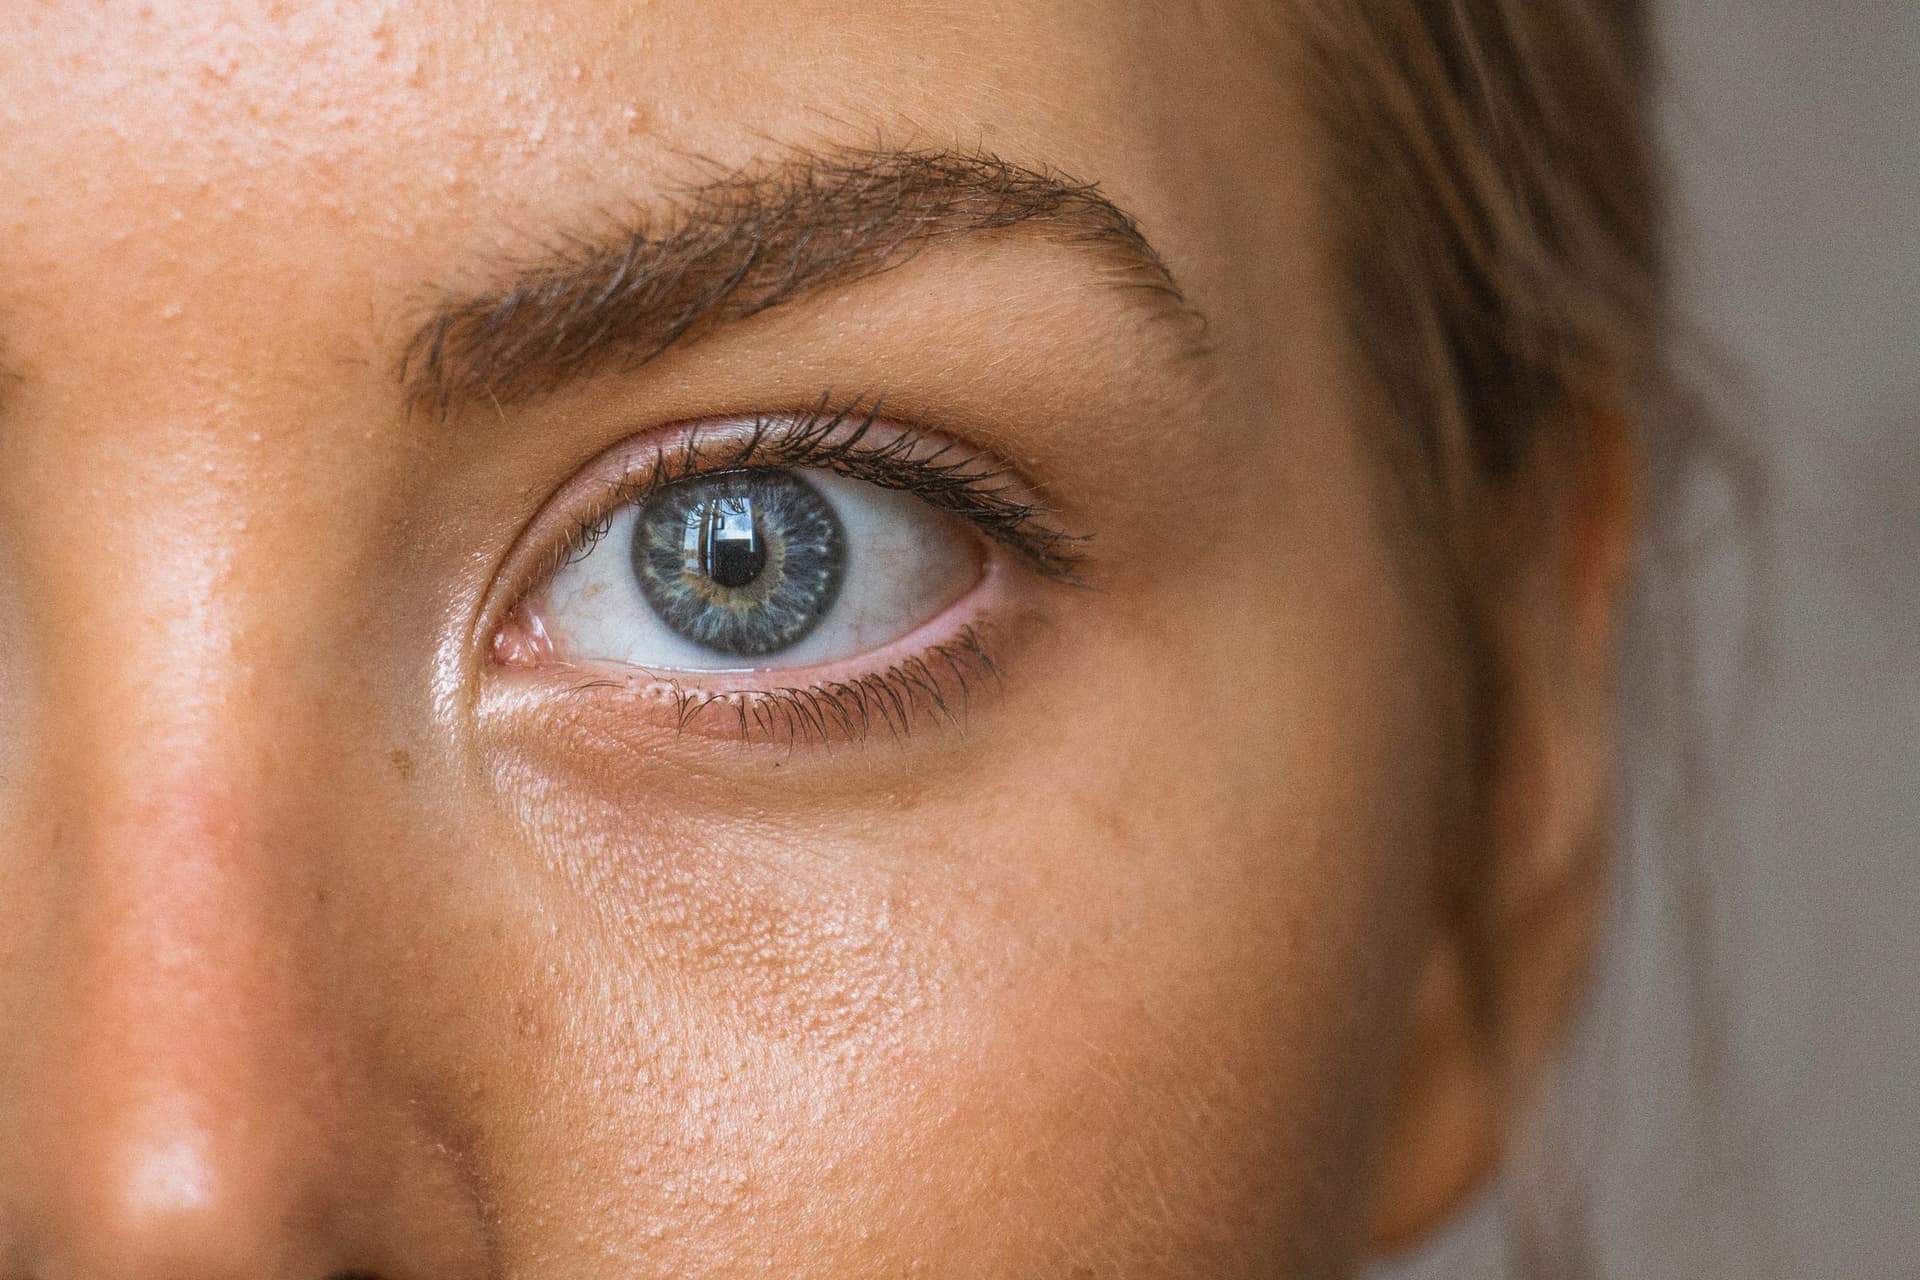
Perfect brows aren't really about trends or chasing the "one" brow shape. In my treatment room, the best results are the ones that look like they belong on your face, clean, balanced, and still you. Most of the time, when someone feels like their brows are "off," it isn't that they need a dramatic arch. It's that one point is starting a little too far in, the arch is sitting too far out, or the tail is dragging down.
That's why I love brow mapping. The Golden Ratio is a helpful guide for finding proportions that feel natural, especially when you're trying to create symmetry without forcing two brows to be identical.
Why the Golden Ratio Matters for Brows
You'll see the Golden Ratio described as a "magic number" (about 1.618). I don't use it as a strict rule in microblading. I use it as a starting point.
When you map brows using proportional points, you're less likely to end up with:
- brows that start too close together (the "unibrow effect" in photos)
- an arch that's pushed too far toward the tail (it can read harsh or surprised)
- tails that over-extend and pull the eye downward
The goal isn't perfection. It's a shape that fits your bone structure and looks good when your face is relaxed, not just when you're raising your brows in the mirror.
Quick take: Brow Mapping Essentials
- Golden Ratio mapping helps you find a flattering "framework" before you commit to shaping or microblading
- The three points you're looking for are start, arch, and end, measured on your face, not copied from a photo
- My go-to tool is a simple Eyebrow Mapping Caliper so I can compare both sides quickly
- Crisp, readable mapping lines matter more than fancy tools
Mapping Brows with the Golden Ratio
Eyebrow mapping is a practical way to find your best brow shape before any hair removal, tinting, or microblading happens. I start by identifying three main points, then I step back and check how it reads with your natural expression.
One small trick that helps when I'm mapping close to the eye area: I have clients look up at the ceiling and lock onto one spot. It keeps the eye from tracking my hand and shifting the reference points. I also remind them to keep their forehead relaxed so the brows stay in their natural position.
- Start: Hold a straight edge or caliper vertically from the side of your nose through the inner corner of your eye. That's where your brow should begin.
- Arch: Keeping the tool at your nose, angle it through the outer edge of your iris. This marks your ideal arch, usually a subtle lift, not a sharp peak.
- End: Align the tool from your nose through the outer corner of your eye. This is where your brow should finish, framing your eyes without trailing too far.
Two quick "real life" checks I do after marking those points:
- If the tail goes past the end point and dips down, it can make the eyes look heavier. I'd rather shorten the tail than drag it.
- If the arch point is too far out, the front half can look flat and the tail can look pointy. Bringing the arch slightly inward usually softens everything.
And a small behind-the-scenes note: one brow almost always sits a little higher. That's normal. I'm not trying to make them twins. I'm trying to make them look like they're from the same family.
These points aren't arbitrary, but they're also not a cage. The Golden Ratio helps the segments relate naturally to each other, and then I adjust for what your face is already doing.
Tools I Trust (and Ones I Skip)
I'm a fan of simplicity and precision. Here's how I keep mapping efficient and clean:
- Mapping caliper: My favorite is the Eyebrow Mapping Caliper. It's reliable for measuring and comparing both brows, so you don't get uneven results.
- Golden Ratio caliper: Some clients are curious about the Golden Ratio Caliper. It's a great visual if you're learning proportions, but for day-to-day mapping I prefer the standard caliper.
- Pre-inked mapping string: Products like Eyebrow Mapping String exist, but I skip them. The ink can smudge and blur (especially if you have skincare or SPF on), which isn't ideal if you want crisp, confident lines.
- My preferred method: Regular cotton string, marked with a Sharpie Peel-Off China Marker. This combo is low-mess and lets me create precise, visible lines that wipe away easily when done.
One thing I see a lot: people try to map while leaning in super close to the mirror. Step back every few marks. Brows are meant to be seen at "conversation distance."
Why Mapping Makes a Difference
When you use proportional mapping, you get more than matching arches. You get a plan that fits your face, not someone else's screenshot.
The biggest win is avoiding "over-correcting." I've had clients come in convinced one brow is thinner because they need to remove more hair, when really, the start point was just creeping inward on one side, making the whole brow feel heavier. Once we map it and clean up the right areas, everything looks more even without taking too much.
When mapping is done well, clients usually notice their eyes look more open and their features look more balanced, even before any microblading starts.
FAQ: Golden Ratio Brows
How long does brow mapping take? Usually around 10 to 15 minutes. If we're making bigger shape changes (or you're torn between two options), it can take a little longer, and that's a good thing.
Can I try mapping my own brows at home? Yes, but give yourself time and good lighting. A caliper helps you stay consistent, but a straight edge and a brow pencil can work in a pinch. Take a photo straight on after you map. It's often easier to spot "off" points in a photo than in the mirror.
Do I need special tools for the Golden Ratio? Not necessarily. Calipers make it faster and more consistent, but careful marking and stepping back to check your work matters more than the tool.
Is the Golden Ratio right for every face? It's a strong starting point. I adjust based on your eye shape, your natural brow hair direction, and how your brow bone sits. The goal is balance, not rigid rules.
Does mapping guarantee perfect brows? It sets you up for success, but technique matters too. Mapping helps prevent over-plucking, uneven shaping, and "chasing" symmetry until there's no brow left.
Final Thoughts
At Ritual Beauty Room in Thousand Oaks, I take the time to map each client's brows with care. The Golden Ratio isn't about perfection, but about finding what flatters you. If you want brows that feel like yours, just a little more polished, reach out. Your best shape might be simpler than you think.
Related services
Mentioned Products
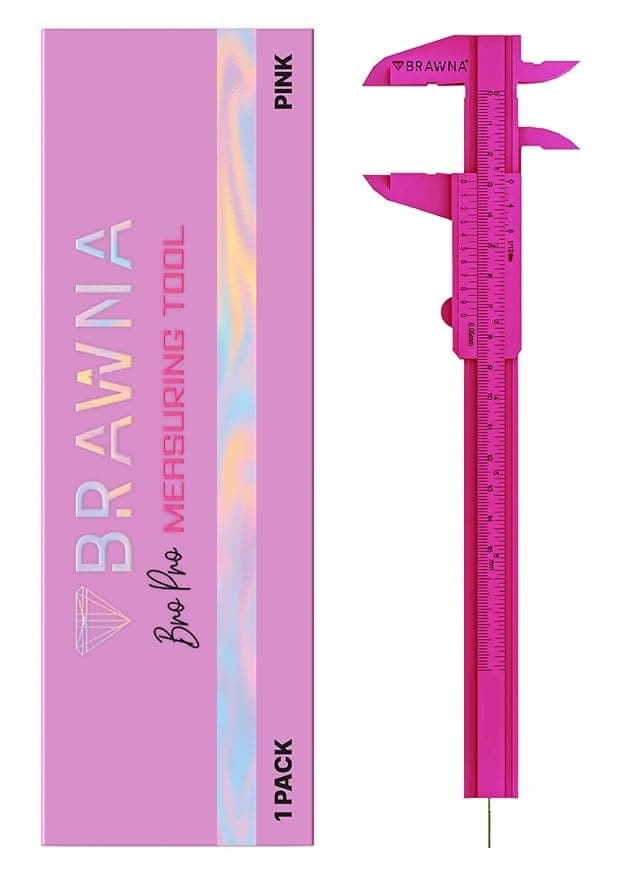
Eyebrow Mapping Caliper
Eyebrow mapping caliper for precise measurement, symmetry, and professional brow shaping control.
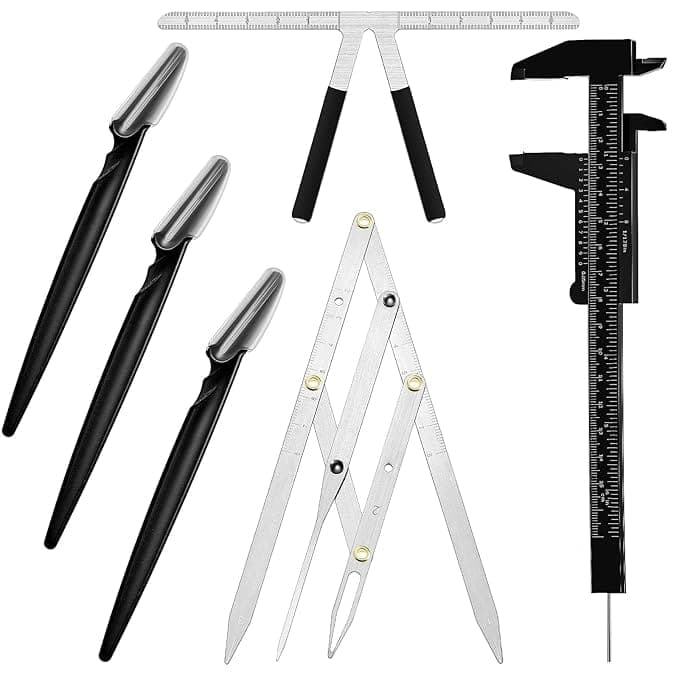
Golden Ratio Caliper
Eyebrow ruler kit with 3 styles and trimming knives for precise, symmetrical, reusable brow shaping.
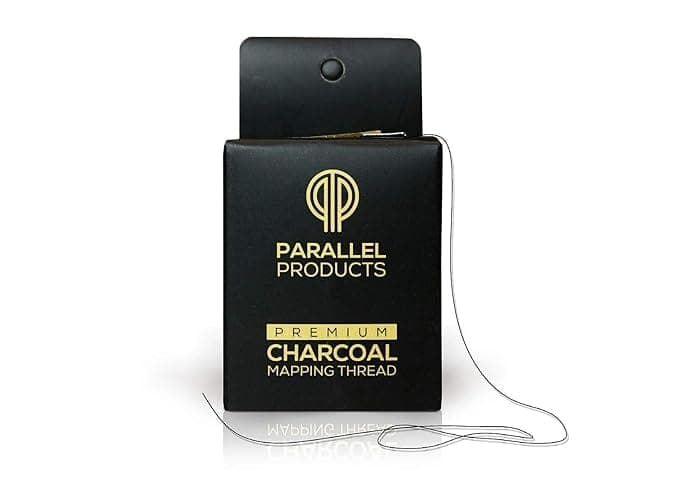
Eyebrow Mapping String
Eyebrow mapping string for accurate, straight, and symmetrical brow shaping guidance.

Sharpie Peel-Off China Marker
Sharpie Peel-Off China Marker for precise, removable marking on skin or brow mapping.
Affiliate disclosure: Some links may be affiliate links. We may earn a small commission at no extra cost to you.
Related posts

Microblading Aftercare: How to Maintain Your New Brows
Microblading aftercare is key for keeping your new brows looking natural and fresh. Learn how to protect your investment and help your results last longer.

How to Prepare for Your Microblading Appointment
Get ready for your microblading session with confidence. Learn what to do (and what to avoid) before your appointment for the best, most natural-looking brows.
Microblading and Skin Types: Finding Your Perfect Match
Microblading can give you natural, low-maintenance brows-but your skin type plays a big role in the results. Here's how to find the best match for your needs.